
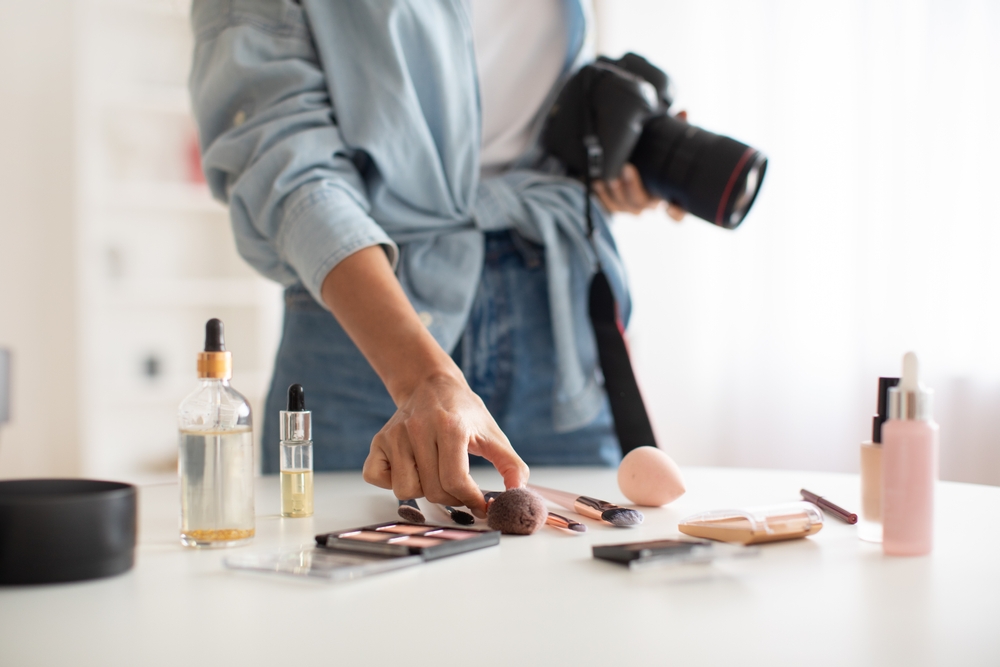
Product photos are a key piece for anyone looking to showcase their products online. It’s going to be the first time a potential customer sees your product. Showcasing it in the best way possible will encourage customers to take action.
But how do you take product photos?
We’ll give you all the information you need to know along with some main product photography tips.
What camera to use for product photos?
A good camera can certainly help with product photography, but that doesn’t mean you have to buy the most expensive one on the market to get the best results.
There are so many other considerations that take into account when shooting product photos. If you’re on a budget you can always use your phone too – some phone cameras can be equally as great.
Everyone is going to have a different budget when it comes to a camera for product photos. Whether you can buy the latest tech or want to use your phone, both can work well. Using the camera really comes down to the operator.
Good Phone Camera
Phone cameras have come a long way. Before it was fuzzy pixelated images, but now you can produce some high-quality images. There are many great phones on the market right now – and would be great for product photos.
The iPhone 14 pro max is a powerhouse of a phone camera. It has a high 6.7-inch display that captures colours and lighting perfectly all while producing high-quality photos. Its main feature has a sports 2x optical zoom that lets you get crystal clear photos with the little details.
The iPhone 14 pro max is quite expensive at around $999.
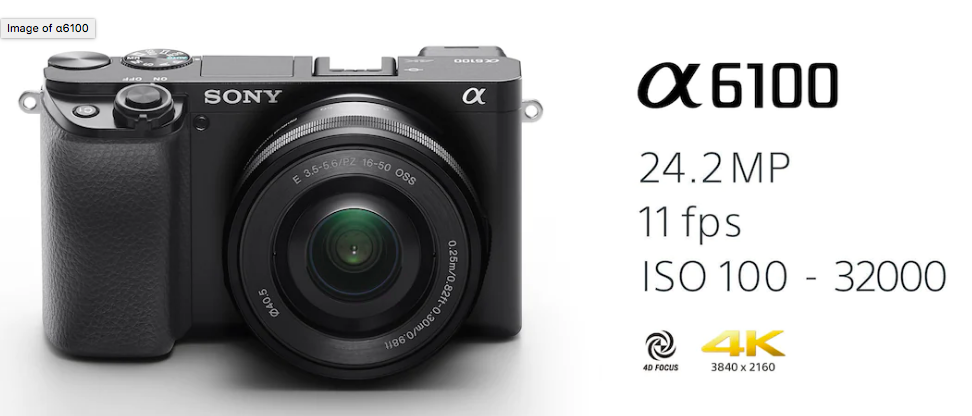
Good Product Photo Camera
A good product photo camera should do a bit of everything. It should be very versatile to shoot products with all the different options available.
The Sony a6100 is a great camera that does all of that. It’s a versatile camera that is lightweight, user-friendly, and overall can produce some high-quality product photos. The camera is lightweight and compact enough to bring anywhere.
It is one of the more expensive cameras on the market running for about $999.
Using lights for product photos
Products should be well-lit to showcase their best features. The best way to think of this is why would someone buy your product. The light should amplify those features so they can be picked up by the camera whether that’s artificial light or natural light.
Lights for product photography
LED lights can be the best bang for your buck. There are bright, affordable (some kinds), and easy to use. For any amateur or professional product photography, they can work well. One of the better lights is continuous lighting.
They stay plugged into a wall the entire time. This way you can choose when to turn the light on or off.
The number of lights will really depend on your product size and the area of the shooting. Although for those that are unsure, starting with one can work well. Just use the light for the sides, either left or right, this is the easiest light position to correct properly.
LED continuous lighting does vary in price but for around $60 you should be able to find something.
Other forms of light
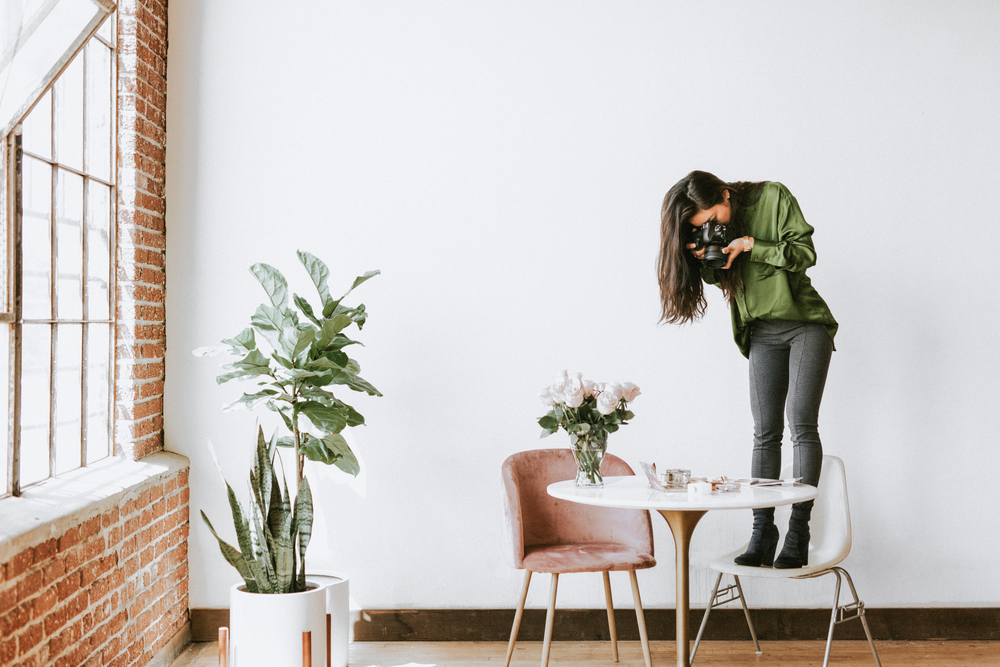
Purchasing lights for product photography isn’t the only option. If you don’t have the budget to purchase product photography lighting shooting beside a big window can work just as well.
Using natural lighting can have a beautiful effect on your product shots.
The downside with natural light is you can’t choose where you want it. You may have a hard time getting your features to shine through with natural light.
Accessories equipment needed for Product Photos
Accessory equipment for shooting product photography could be any number of things. Here are some of the pieces of equipment.
Lens
Depending on the camera you use, you can swap different lenses. This lens could be a macro lens, telephoto lens, wide angle, fixed or fisheye. All serve a specific purpose.
Memory Card
Capturing product photos for a shoot could be anywhere from a couple of 100 to a couple of 1000. You want to ensure you have enough space on your camera so you can shoot for the whole day. Having a few extra memory cards will keep you capturing images all day without worry.
Battery
Product photography can take some time whether that’s a few hours or a full day. Having a couple of extra battery packs with you will ensure you can keep shooting. Better safe than sorry when it comes to having extra battery packs.
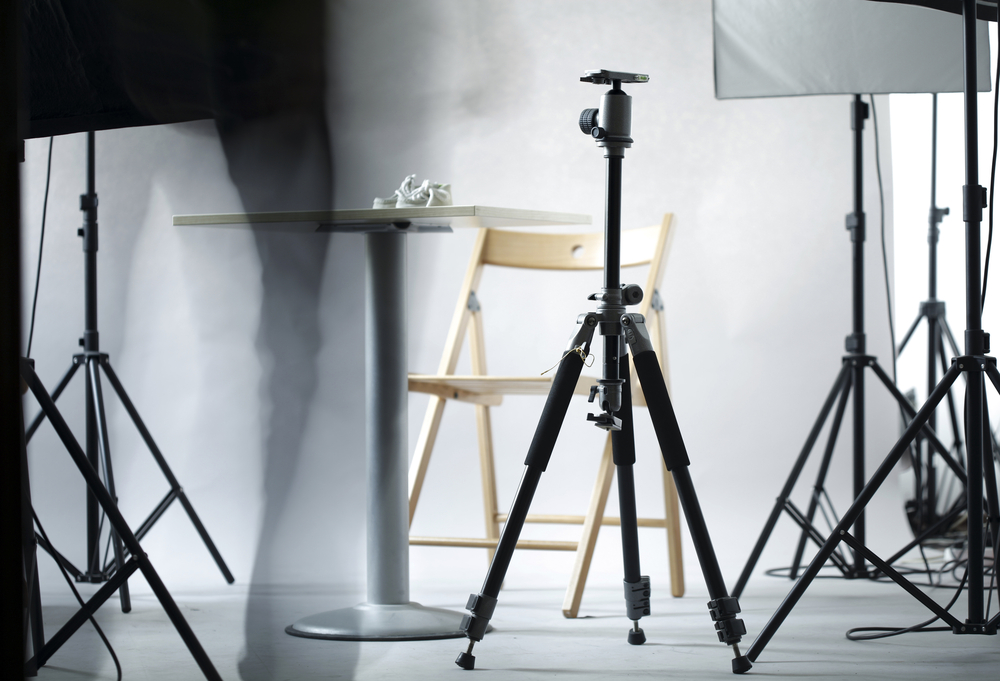
Tripod
Holding the camera steady can be a bit of an art form, especially if it’s been a long shoot. A tripod holds the camera for you, so you don’t get taxed something up the shot. Use a tripod to set up multiple angles and have the height any way you want.
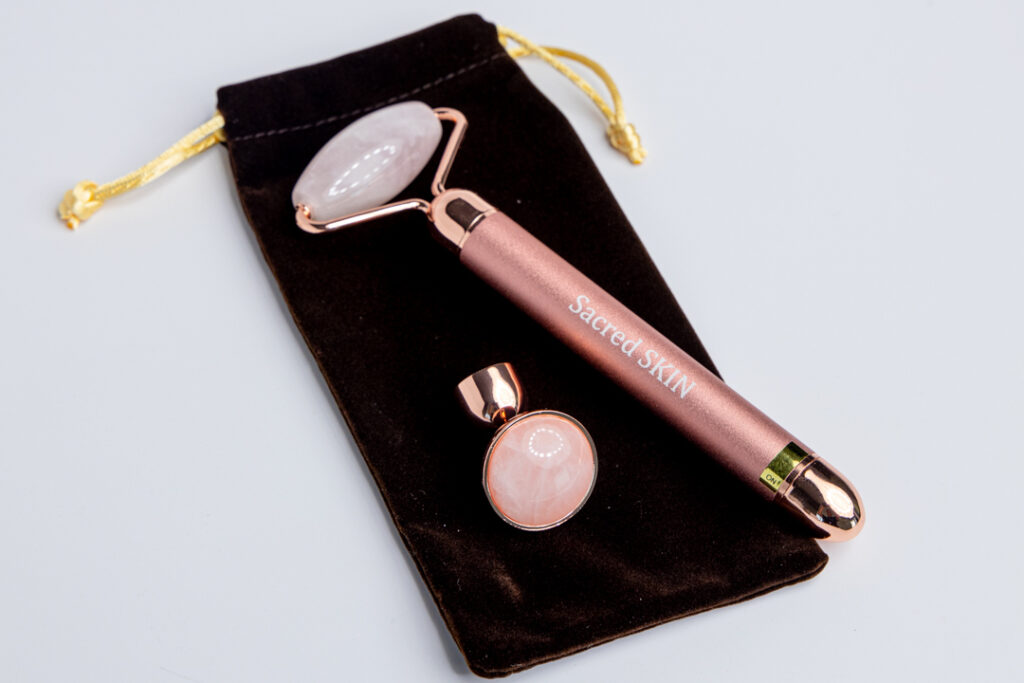
Setting the scene for your product
Showcasing your product is a fundamental part of product photos. It gives you a chance to showcase your product and its features while keeping things creative. Whether that is with lifestyle shots or any other vision you may have.
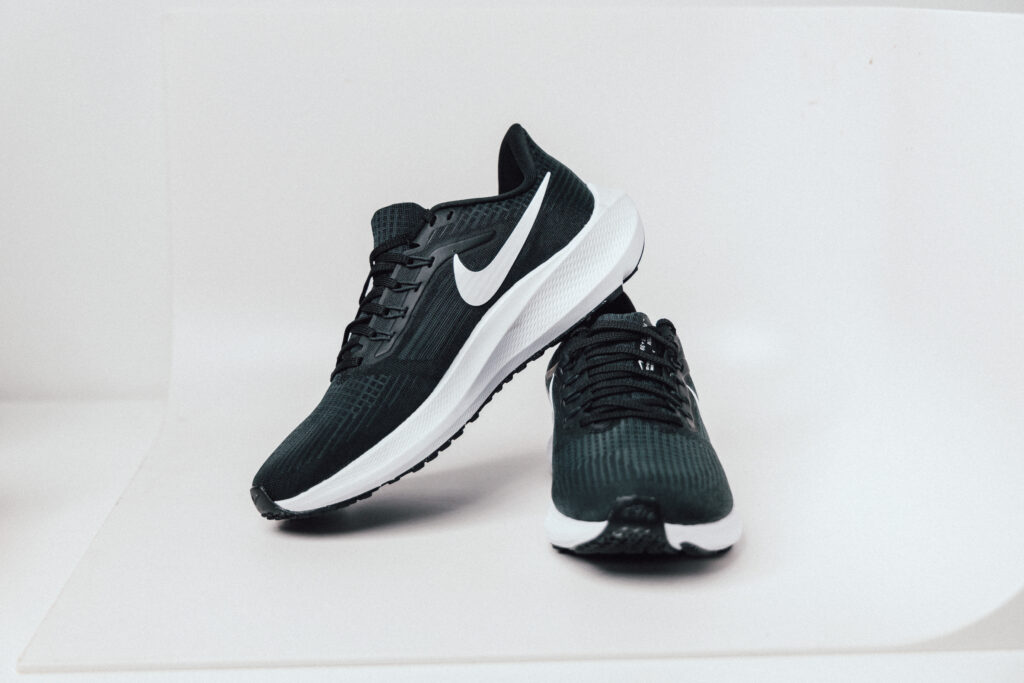
What do we mean by this? Let’s look at any fashion brand. If we take Nike’s shorts as an example.
Without even looking at the description it becomes clear they are an athletic brand. Usually, they have their shorts on a model outside playing a sport. It could be soccer, basketball, running or weight lifting. This is exactly what setting the scene for a product is about.
Want to write better product descriptions? Check out “How to write product descriptions that sell“.
Few tips:
Where would your product be? – Think about where your product would be used and create a small set to create the environment for the images to help tell the story better.
Be careful with the background – Create a background that doesn’t distract/take away from the product
Texture matters – It’s how you bring in other elements that don’t overpower the main product but enhance it
Depth of field – Keep the eye drawn to your product not the background or foreground
Keep the area clean – Dust and fingerprints are all things that will ruin a product photo, keep the area clean
Always remember, less is more – sometimes we love to over-cram a space because it feels empty but negative space/empty space can also help tell the story
Think outside the box
A product photo essentially is whatever you want it to be. Of course, it has to highlight the product, but as long as it does that you’re on the track. But what do we mean outside of the box?
It means getting creative with it. You don’t have to take straight photos or use the same lens. Try things differently. Take different angles from all over, use different lenses, and experience different camera settings.
It never hurts stepping outside of your comfort zone with product photos you may realize you like a photo better after snapping the shot.
Editing software to help with photos
Editing can be a big part of your product photo piece. It gives you the chance to fine-tune any details or clean up any wanted parts of your photo.
There is a wide range of photo editing apps and software on the market everything from basic edits to complex edits.
Key features of editing:
- Change the background
- Correct colours
- Retouch
- Cropping
- Remove or create shadows
- Improve image quality
Adobe Lightroom is a classic photo editing software for editing and is a go-to for amateur and professional photographers. Adobe lightroom gives you all the tools you’ll need to create amazing product photos.
Adobe lightroom costs around $13 a month.

Steps for taking product photos
Step 1: Gather supplies
Start by collecting all supplies needed for the product shoot. This could be the lights, cameras, accessories, and the product.
Things you may need:
- camera/phone
- lights
- tripod
- product
Step 2: Set the scene
After you have all the supplies you’ll need to start setting up. The product shoot planning should be done before you take the photos.
You’ll want to have a good idea of what you want to achieve on the day. It’s also going to ensure you stay on track and don’t waste any time coming up with ideas.
Scene considerations:
- clean area (no dust/fingerprints)
- quality check product
- relates to your product
Step 3. Practice shoot
Next step in the product shooting process is to take practice photos. It may take a few tries to position the product how you want.
You may also have to play around with the lighting, angles or height. Taking a few practice shoots ensures you are set up properly before taking the final shot.
Things to practice:
- test angles
- test hight
- test lighting
- test camera
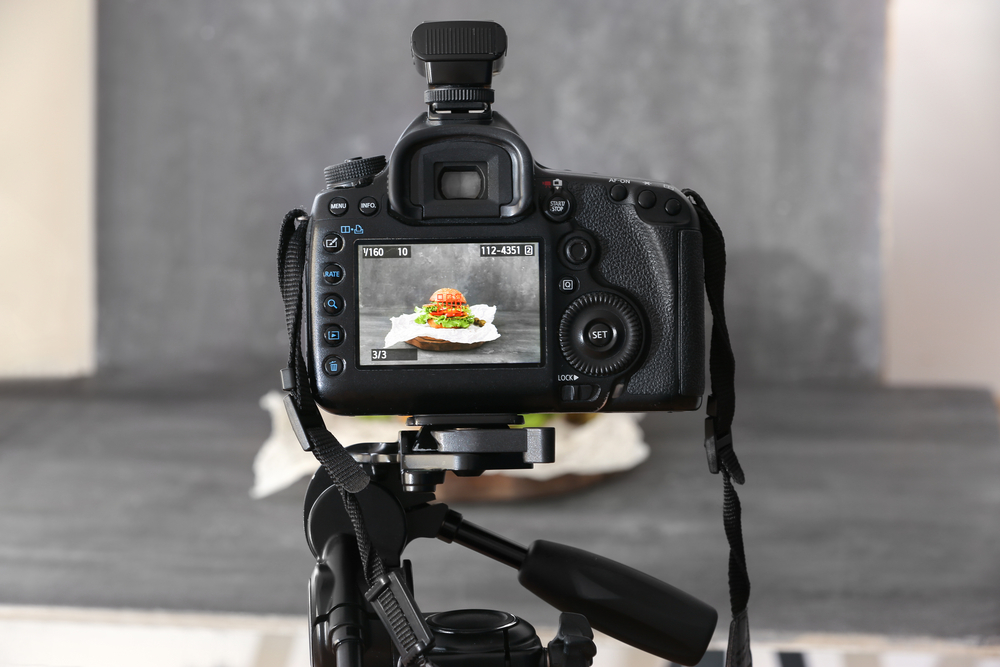
Step 4. Take Product Photos
Now, comes the fun part. It’s taking the actual product shot. It’s important to take lots of photos. Get as many photos as you can to capture your product image.
A few shots to consider:
- up close
- side
- above
- angled
Step 5. Edit Photos
After you have taken all shots needed, it’s time to head to the computer and start editing. This is when you can fine-tune the image and remove or add things to create the final image.
Chances are with any of the editing software you choose to use, you’ll be able to find easy guides online that can help you achieve your vision.
Step 6. Upload
Success! It’s time to upload the photo. Product images can be used in many different ways from images on your website to social media posts.
Using your product photos
All great ecommerce websites have good product photos. It’s a great way to highlight your product and showcase all the features that make it amazing.
Creating product photos isn’t an easy task, but with the information we have provided, you’ll be ready to shoot your very own. Just like anything, it takes time to get better.
The more time you spend shooting products the better you will get – you just have to start!
Better product photos can even increase sales and conversions. Start shooting your own photos.
